> ## Documentation Index
> Fetch the complete documentation index at: https://academy.pathfindr.ai/llms.txt
> Use this file to discover all available pages before exploring further.
# Start Building With Copilot
> A practical guide to building your first agent using Agent Builder (Copilot Studio Lite) inside Microsoft 365 Copilot.
export const Quiz = ({question, options, correctIndex, explanation}) => {
const [selected, setSelected] = useState(null);
const [showResult, setShowResult] = useState(false);
const handleSelect = index => {
if (showResult) return;
setSelected(index);
setShowResult(true);
};
const isCorrect = selected === correctIndex;
return
;
};
## What you'll learn
Agent Builder — now officially called **Copilot Studio Lite** — is built directly into Microsoft 365 Copilot. No extra licence, no extra software. This guide shows you how to go from idea to working agent.
What agents are and when to use one
Define the right scope and instructions
Set up your agent with knowledge and tools
Publish and hand off to your team
***
## What is an agent?
An agent is a custom version of Copilot with a specific job. You give it a name, a set of instructions, and optionally a knowledge source — and it behaves consistently every time you or your team uses it, without you needing to re-explain the context.
Think of it as building a specialist assistant that already knows your processes, your tone, and your reference material.
The difference between a regular Copilot conversation and an agent:
| Regular Copilot | Agent |
| ------------------------------ | ---------------------------- |
| You explain context every time | Instructions are baked in |
| One-off tasks | Recurring, consistent tasks |
| Personal use | Shareable with your team |
| No persistent knowledge | Can reference your documents |
***
## What agents are good for
Not everything needs an agent. Agents work best for tasks that are:
* **Repetitive** — the same type of task you do multiple times per week
* **Context-heavy** — the task requires background knowledge your team shouldn't have to re-explain
* **Multi-person** — the task is done by multiple people who should get consistent results
***
## Where to find Agent Builder
Agent Builder is now called **Copilot Studio Lite** and is built into Microsoft 365 Copilot. You do not need a separate Copilot Studio licence.
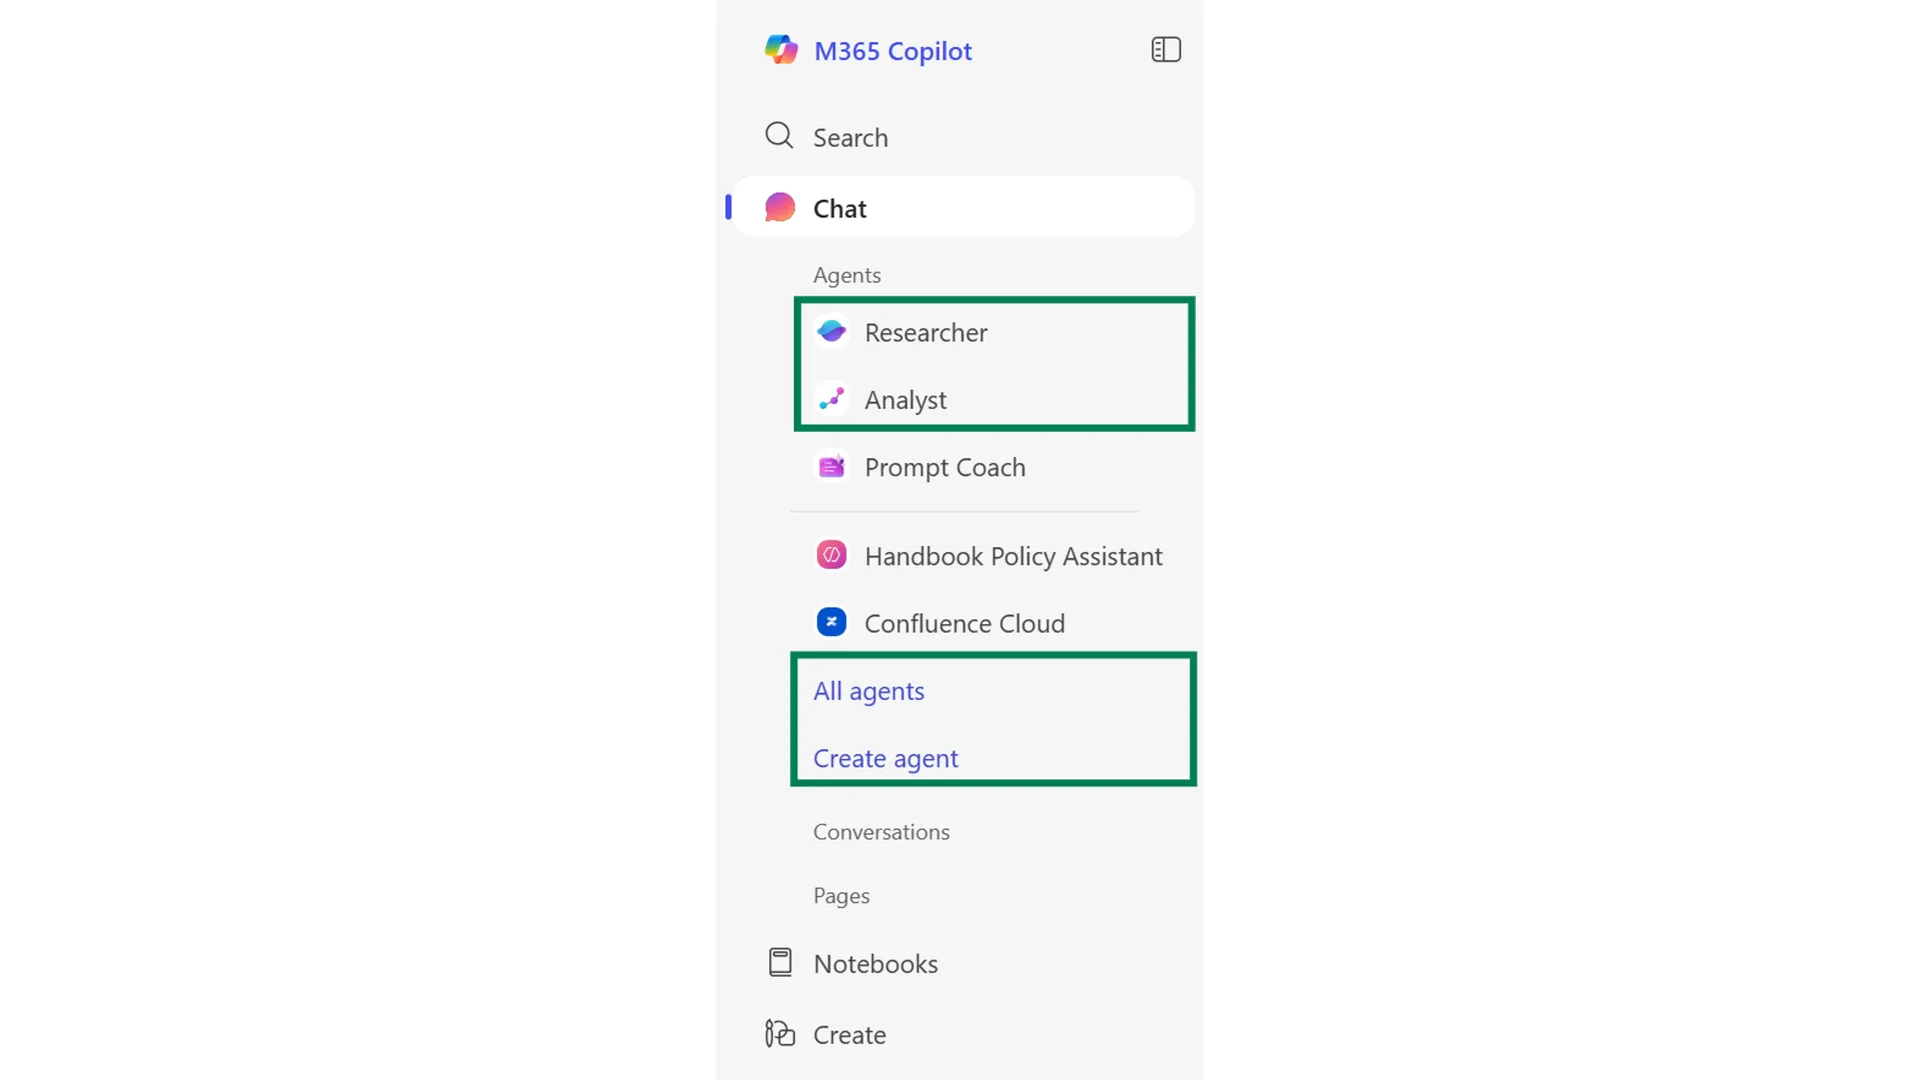
In Microsoft 365 Copilot (web or desktop), click the **Agents** icon in the right panel. This opens the Agents tab, where you can browse available agents and create new ones.
Click **Create agent** to open Copilot Studio Lite.
Inside the builder, you will see a **Configure** tab and a **Test** panel. The Configure tab is where you set up your agent's name, instructions, knowledge sources, and capabilities.
Agent Builder was previously called "Agent Builder" in Microsoft 365 Copilot. Microsoft officially renamed it to **Copilot Studio Lite** in early 2026. Both names refer to the same tool — the no-code agent builder included in your Microsoft 365 Copilot licence.
***
## Planning your agent
Before you open the builder, spend five minutes answering these three questions. Agents built without clear planning are harder to test and rarely work well on the first try.
Write one sentence describing the task. Example: "This agent helps people managers write consistent performance review summaries using our company template."
If you cannot write it in one sentence, the scope is too broad. Narrow it down.
List the documents, policies, or data sources your agent should draw from. These become your knowledge sources. Examples: an SOP document, a policy PDF, a SharePoint folder, or a past project brief.
If it is just for you, save it privately. If your whole team will use it, you will need to share it — plan for this before you build so you set up permissions correctly.
***
## Building your agent
Give your agent a clear, specific name. In the **Instructions** field, describe:
* What the agent does
* What tone or format to use
* What it should and should not do
*Example instruction:*
```text theme={null}
You are a performance review assistant for managers at [Company].
When asked, help the user write a performance summary using the
standard STAR format. Always keep summaries under 300 words.
Do not make assumptions about the employee's performance — only
work from what the user tells you.
```
Click **Add knowledge** and connect:
* A **SharePoint site** — for team documents and wikis
* A **OneDrive folder** — for personal or departmental files
* An **uploaded document** — for a specific PDF, Word doc, or policy
**New in 2026:** Agents can now accept **file uploads from users mid-conversation** — not just at build time. This means your agent can analyse a document a user drops in during the chat, without you having to pre-load everything.
***
## Testing and refining
Before you share your agent, test it properly. A quick test protects your reputation and your team's time.
Send the agent a task you would actually give it in real life. Do not test with "Hi" or simple greetings — test with the kind of complex request it was built to handle.
Does the response use the right structure? Is it the right length? Does it match the tone in your instructions?
Try asking the agent something it should not do. Does it stay within scope, or does it go off-topic? If it drifts, tighten the instructions.
Before sharing broadly, ask one person who was not involved in building it to test it. Fresh eyes find gaps faster than the builder does.
***
## Sharing your agent
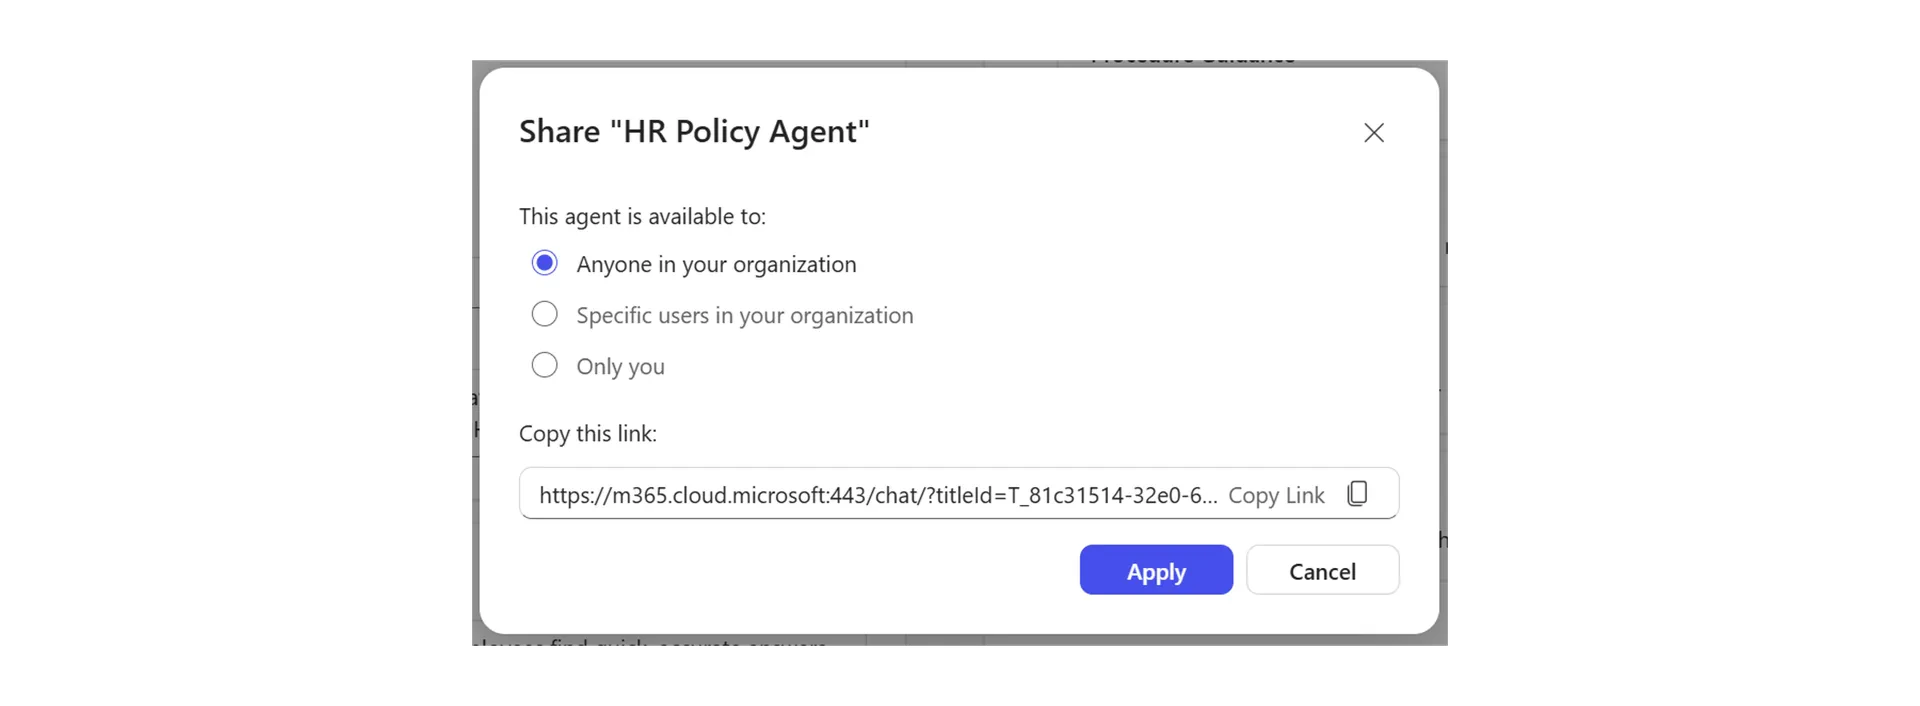
Click **Share** in the builder and enter the names or email addresses of colleagues you want to give access to. They will see the agent in their Agents panel inside Microsoft 365 Copilot.
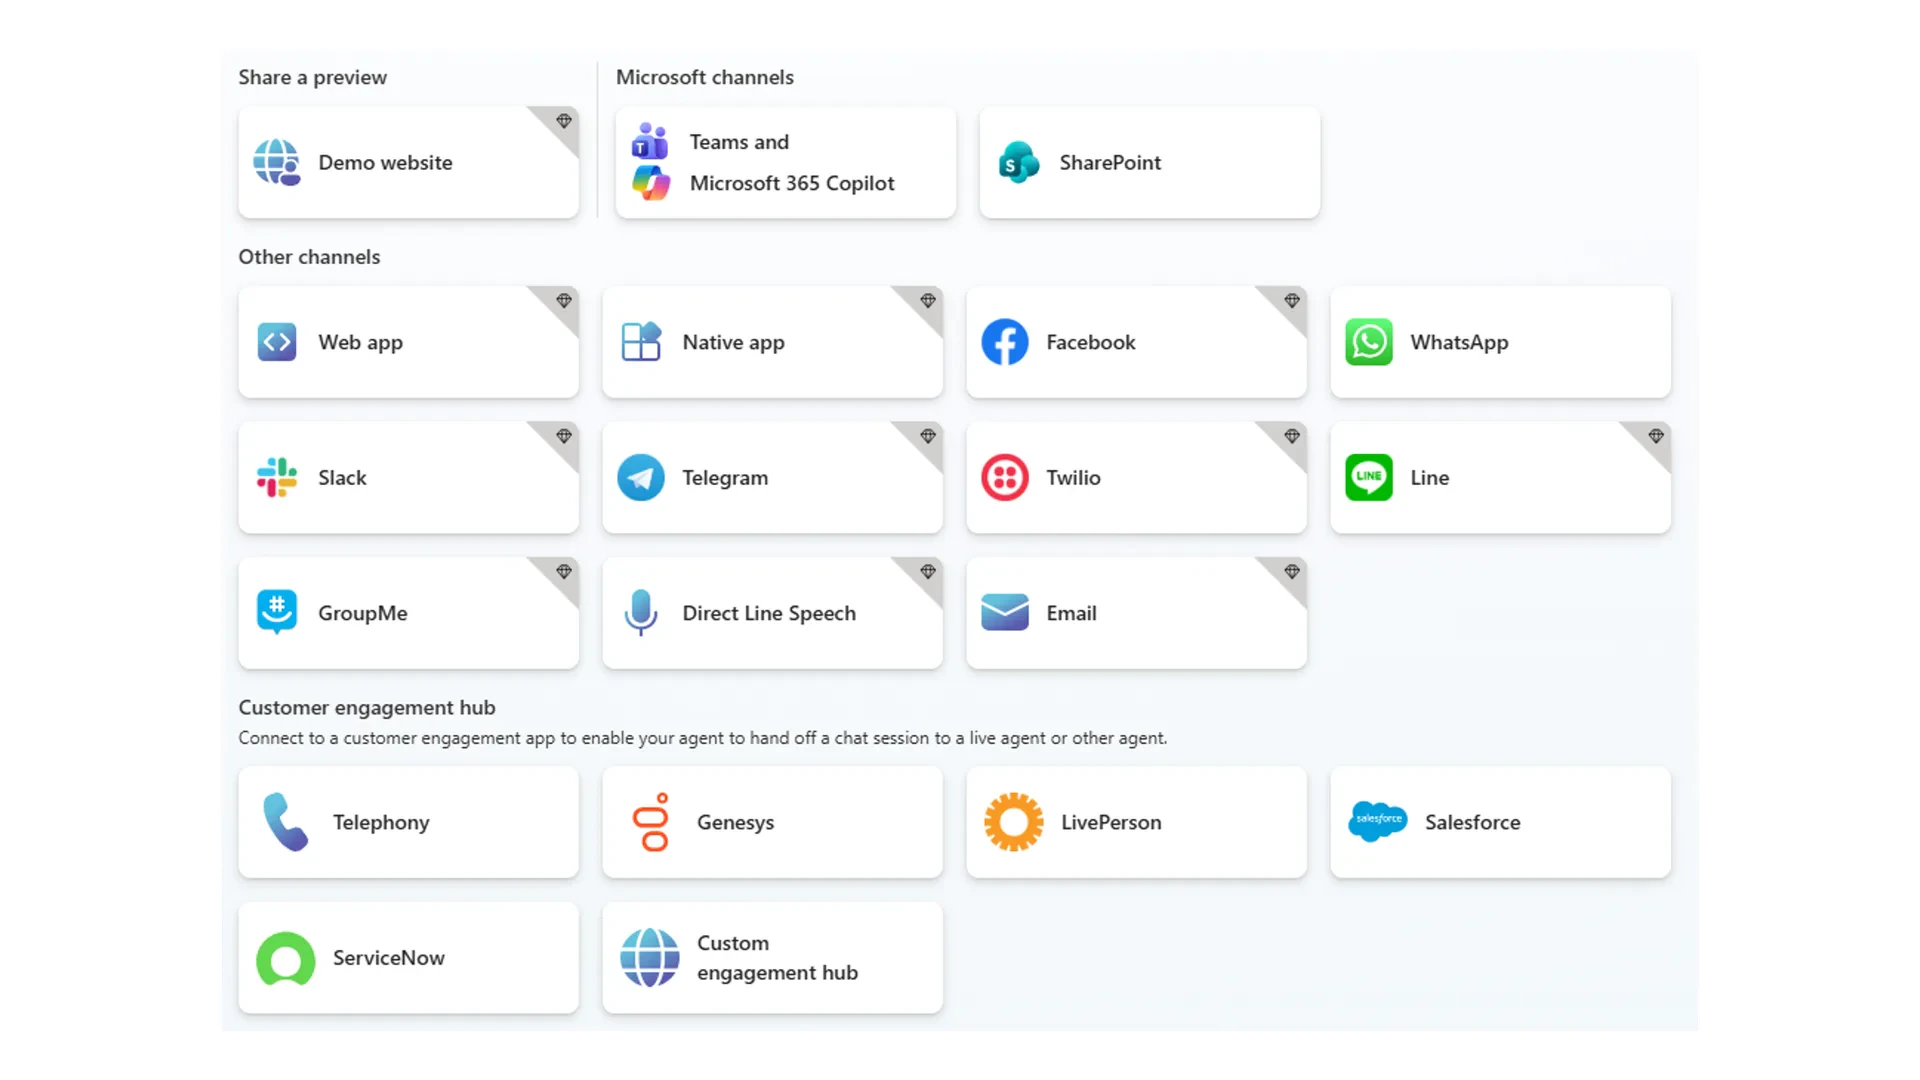
**New in 2026:** Agents built in Copilot Studio Lite can now be published to **WhatsApp** and **SharePoint pages** — not just Microsoft Teams. This means your agent can be embedded in a SharePoint intranet page that your whole organisation visits.
If you want more advanced control — lifecycle management, approval workflows, or publishing to more channels — you can **upgrade your agent to full Copilot Studio with one click**. Look for the "Upgrade" option in the builder. Your agent and its settings carry over automatically.
***
## Quick checkpoint
You are done with this module when you can do the following:
You can describe your agent in one clear sentence
You have written instructions that constrain the agent's scope and tone
You have connected at least one knowledge source
You have shared the agent with at least one colleague
Complete the challenge to build and test your first Copilot agent
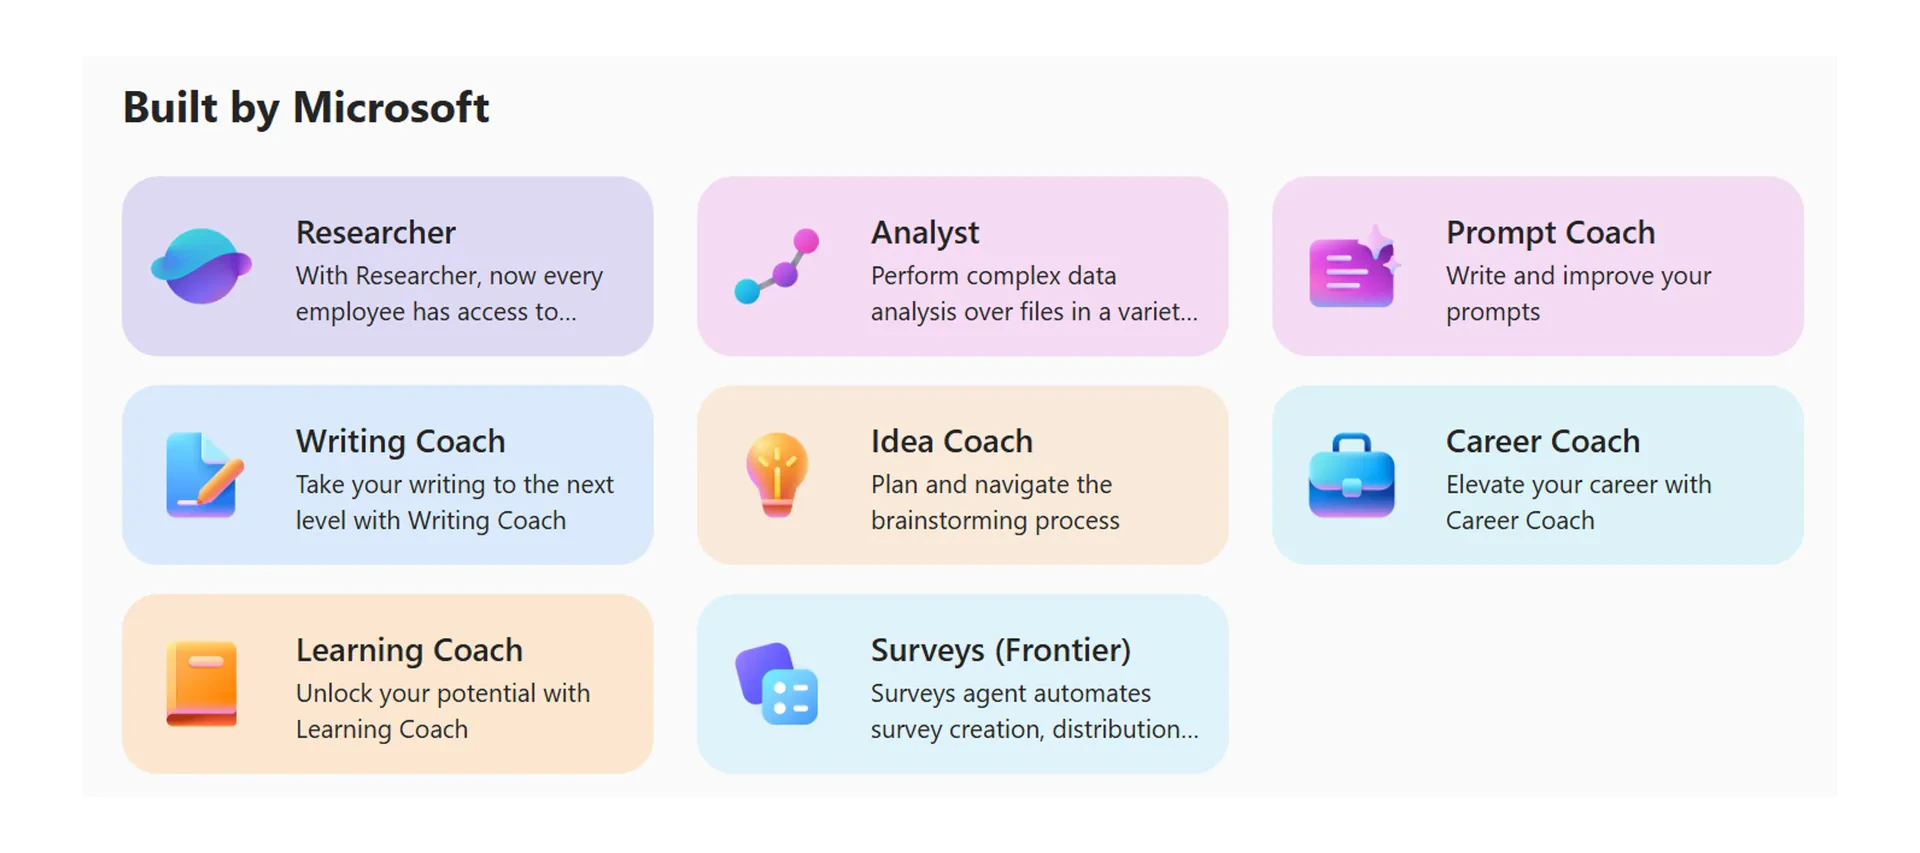 In Microsoft 365 Copilot (web or desktop), click the **Agents** icon in the right panel. This opens the Agents tab, where you can browse available agents and create new ones.
Click **Create agent** to open Copilot Studio Lite.
In Microsoft 365 Copilot (web or desktop), click the **Agents** icon in the right panel. This opens the Agents tab, where you can browse available agents and create new ones.
Click **Create agent** to open Copilot Studio Lite.
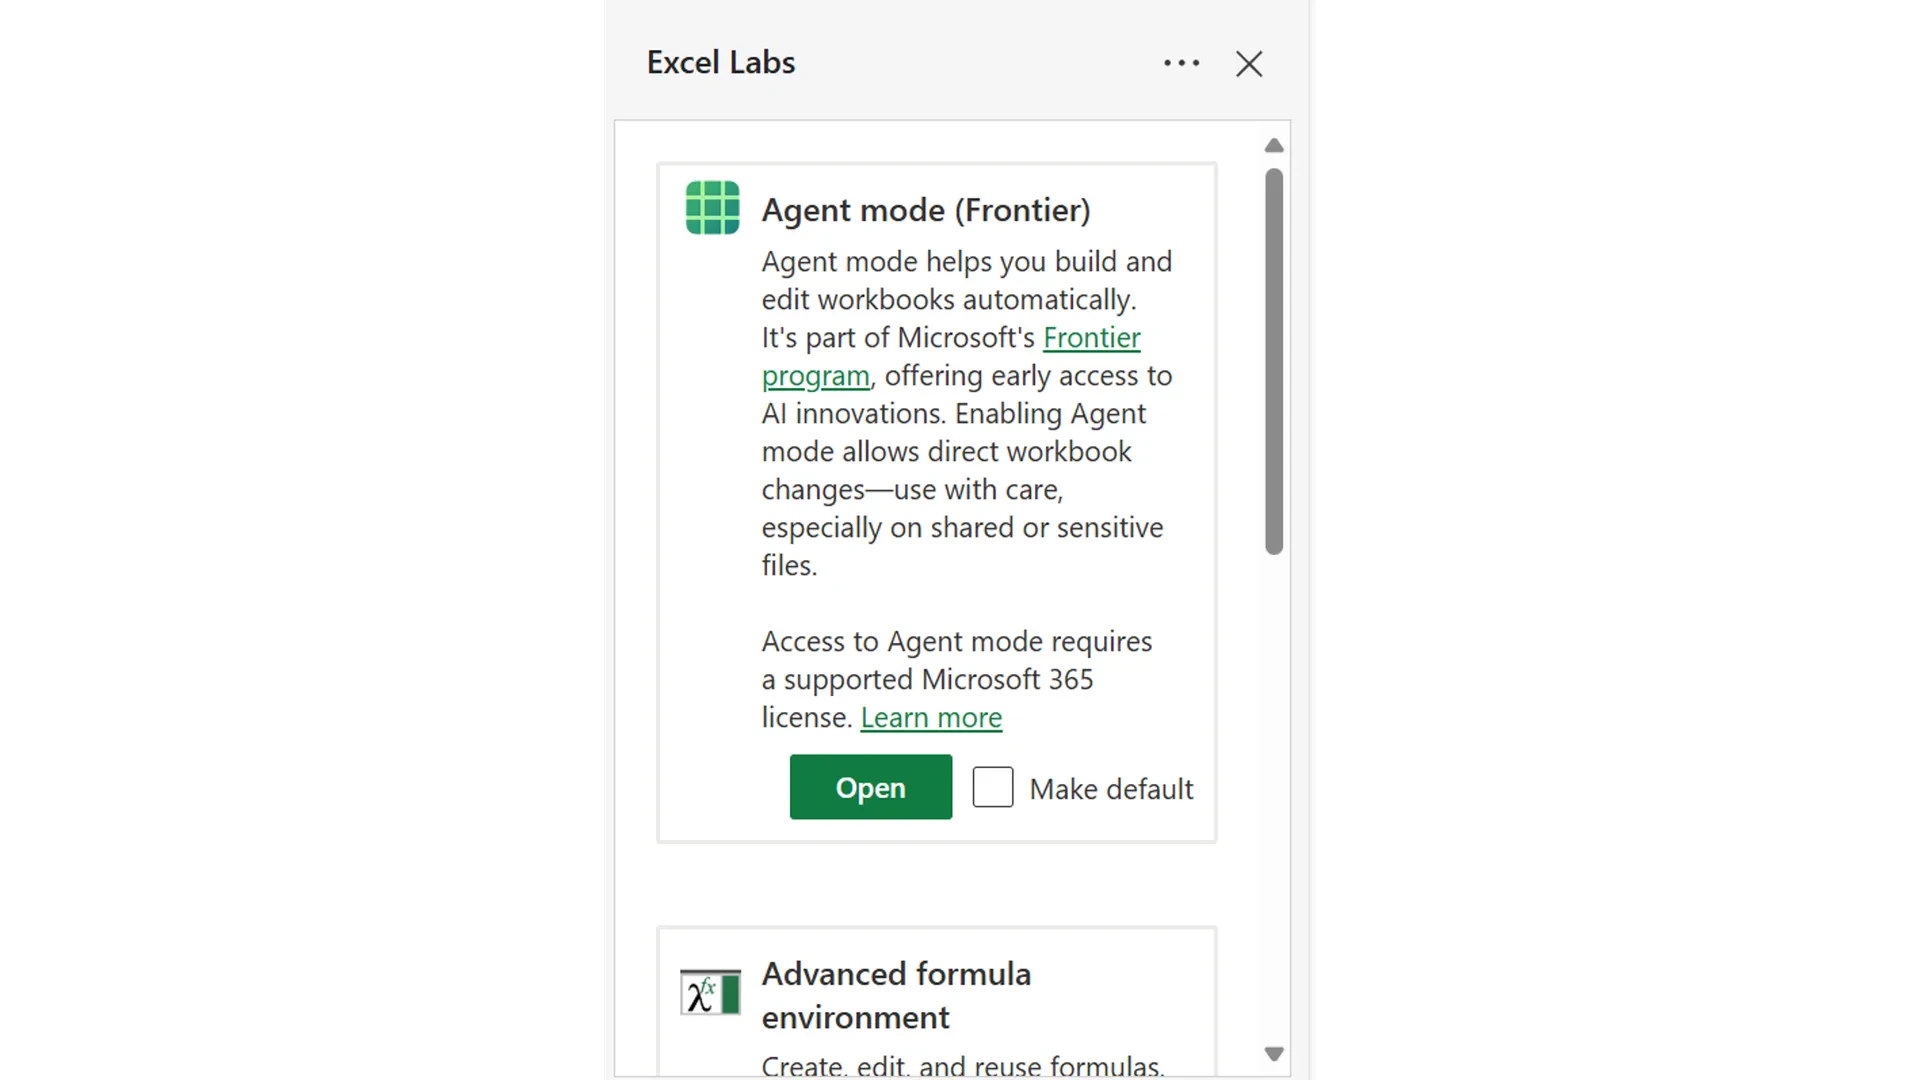 Inside the builder, you will see a **Configure** tab and a **Test** panel. The Configure tab is where you set up your agent's name, instructions, knowledge sources, and capabilities.
 Give your agent a clear, specific name. In the **Instructions** field, describe:
* What the agent does
* What tone or format to use
* What it should and should not do
*Example instruction:*
```text theme={null}
You are a performance review assistant for managers at [Company].
When asked, help the user write a performance summary using the
standard STAR format. Always keep summaries under 300 words.
Do not make assumptions about the employee's performance — only
work from what the user tells you.
```
Give your agent a clear, specific name. In the **Instructions** field, describe:
* What the agent does
* What tone or format to use
* What it should and should not do
*Example instruction:*
```text theme={null}
You are a performance review assistant for managers at [Company].
When asked, help the user write a performance summary using the
standard STAR format. Always keep summaries under 300 words.
Do not make assumptions about the employee's performance — only
work from what the user tells you.
```
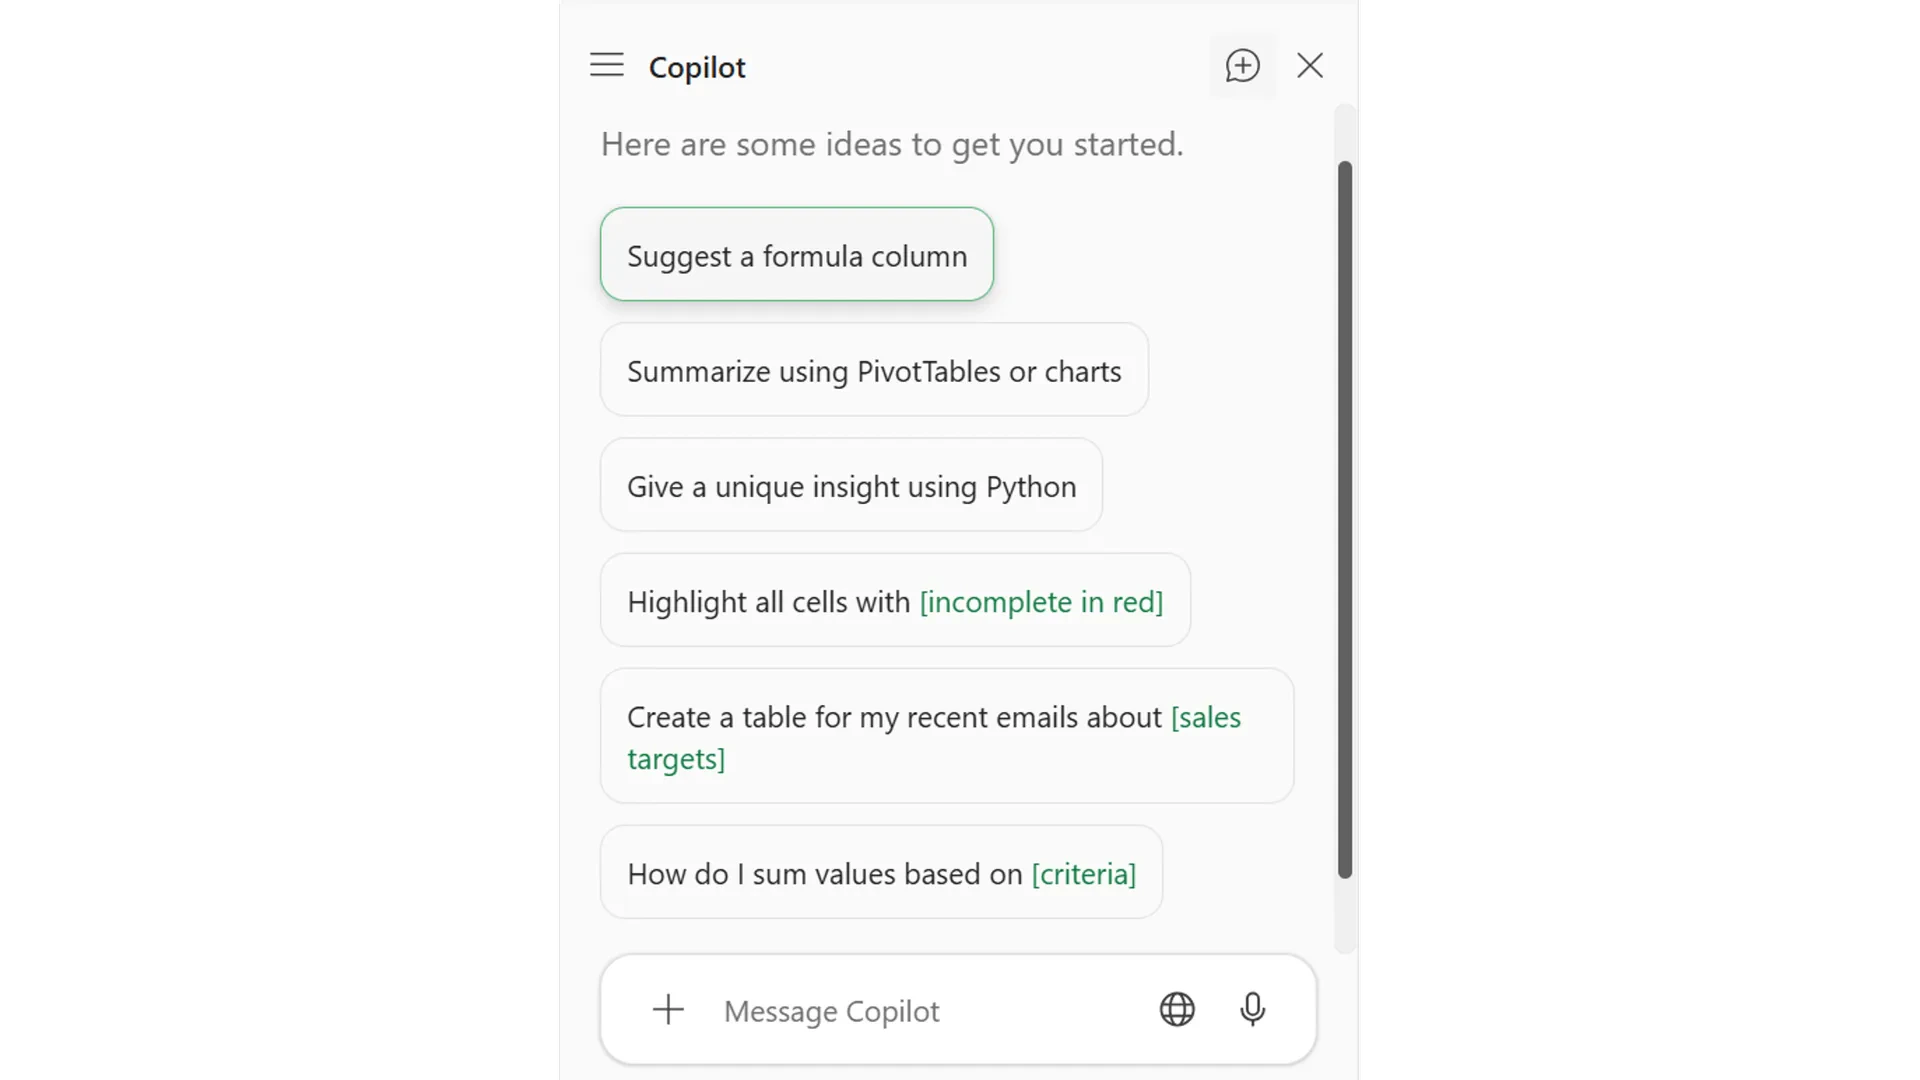 Click **Add knowledge** and connect:
* A **SharePoint site** — for team documents and wikis
* A **OneDrive folder** — for personal or departmental files
* An **uploaded document** — for a specific PDF, Word doc, or policy
Click **Add knowledge** and connect:
* A **SharePoint site** — for team documents and wikis
* A **OneDrive folder** — for personal or departmental files
* An **uploaded document** — for a specific PDF, Word doc, or policy
 Click **Share** in the builder and enter the names or email addresses of colleagues you want to give access to. They will see the agent in their Agents panel inside Microsoft 365 Copilot.
 **New in 2026:** Agents built in Copilot Studio Lite can now be published to **WhatsApp** and **SharePoint pages** — not just Microsoft Teams. This means your agent can be embedded in a SharePoint intranet page that your whole organisation visits.